
Trampler Checks You Can Act On
| Check | Why it matters | Action |
|---|---|---|
| First chassis | Small chassis are easier to learn and maneuver. Larger chassis give more grid room but ask more from route space, repairs, and crew attention. | Start small for learning routes. Move up only when the route needs the grid cells and you can still turn, repair, and extract. |
| Build limits | SAND Game DB build rules list one reactor, one steering module, one captain slot, and up to three crew slots per Trampler. | Place those hard-limit systems first, then fill weapon, cargo, door, hatch, and deck space around them. |
| Reactor load | SAND Game DB systems notes list reactor output, capacity, recharge behavior, and stable operation up to 95% load. | Leave power headroom before combat. If systems feel unreliable, remove nonessential draw before blaming the chassis. |
| Crew respawn | Beds and bed towers list four respawns with food required, while a respawn point lists one respawn without food. | Check respawn costs before long routes. A bed is not useful if the food and access plan are missing. |
| Interior route | The Trampler is a small moving base, not a menu. Driver seat, guns, reactor, storage, repairs, doors, and hatch all cost travel time. | Before deployment, run the exact path you will use under pressure. If solo, shorten that path before adding another weapon. |
| Fight target | Disable the problem you need solved: movement when the enemy is escaping, weapons when the gun is winning, reactor or crew access when capture is realistic. | Do not tunnel damage. Stop the part that prevents your extraction or creates a clean boarding window. |
| Exit value | A strong Trampler still loses if extraction is late, loot is loose, or the crew forgets to leave the walker and take the cable. | Call extraction while the Trampler can still reposition. Store loot before the ship arrives and board yourself. |
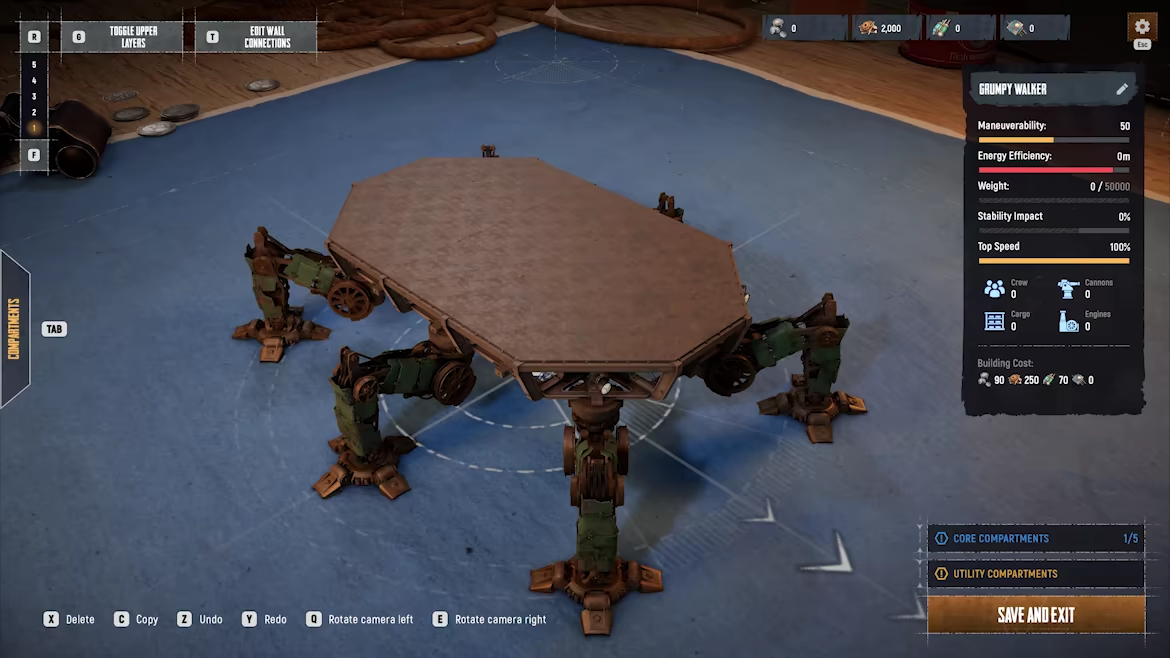
Make The Trampler Easier To Survive With
Use this SAND Trampler guide when the walker is the reason a route falls apart: awkward builds, exposed power, unclear crew roles, bad repairs, messy fights, boarding pressure, or late extraction panic.
Most Losses Start In The Layout
Most Trampler losses start before the fight. A build can look strong in the editor but fail because the driver cannot see, the repair path is blocked, loot is loose, the reactor is exposed, or the crew has no plan for who drives, fixes, shoots, and boards.
Stats Only Help When They Change A Choice
SAND Game DB lists chassis size, grid cells, build limits, reactor output, module functions, and respawn rules. Those fields matter because the Trampler is not one part. It is a moving stack of power, structure, storage, crew access, and escape value.
Pick A Chassis By Route Space
Compare chassis by size, grid cells, maneuverability, and route role before copying a finished build. If the route is narrow or you play solo, usable space can matter more than maximum grid cells.
Select 2 or 3 choices. The field-by-field comparison opens below the cards.
4 matches shown
S&H Atm.Fs 77B-Q Small Chassis
A compact construction chassis with high maneuverability and low load capacity. It fits tight routes and learning expeditions.
- Dimensions
- 3x3
- Grid cells
- 17
- Hit points
- Indestructible
- Weight
- 1
- Rotation
- Enabled
- Build status
- Enabled in-game
S&H Atm.Fs 79H-Q Great Chassis
A heavy-duty transporter chassis with more grid room and less maneuverability than small models.
- Dimensions
- 4x4
- Grid cells
- 24
- Hit points
- Indestructible
- Weight
- 1
- Rotation
- Enabled
- Build status
- Enabled in-game
S.Trs "Karl Ludvig" Royal Chassis
A military-scale chassis with 40 grid cells. The database description frames it as a fort-carrying platform, not a nimble scout.
- Dimensions
- 4x6
- Grid cells
- 40
- Hit points
- Indestructible
- Weight
- 1
- Rotation
- Enabled
- Build status
- Enabled in-game

S.Trs "Albrecht" Royal Chassis
A large military chassis with 35 grid cells. Use it when loadout room matters more than route flexibility.
- Dimensions
- 5x5
- Grid cells
- 35
- Hit points
- Indestructible
- Weight
- 1
- Rotation
- Enabled
- Build status
- Enabled in-game
Compare selected
0 choices
Build A Route-Safe Baseline
Start with a route-safe baseline. Place the core systems first, keep repair paths readable, carry only the weapons the crew can actually use, and test the build in Voyage before trusting it in Storm Dive or a contested PvPvE route.
- Pick the smallest chassis that still fits the job: driving, storage, one clear weapon plan, repair access, and a protected core.
- Keep reactor, steering, captain, door, and hatch placement easy to inspect before you add extra decks or cosmetic bulk.
- Walk the interior route from driver seat to reactor, gun, repair point, storage, and exit hatch before the first valuable expedition.
- For solo routes, park and fight only when you can still return to the driver seat or extraction path quickly.
- For squads, assign driver, repair, gunner, and boarder roles before the first POI instead of during the first panic.
- After every failed extraction, name the first broken link: power, movement, repair, storage, boarding, fight choice, or exit timing.
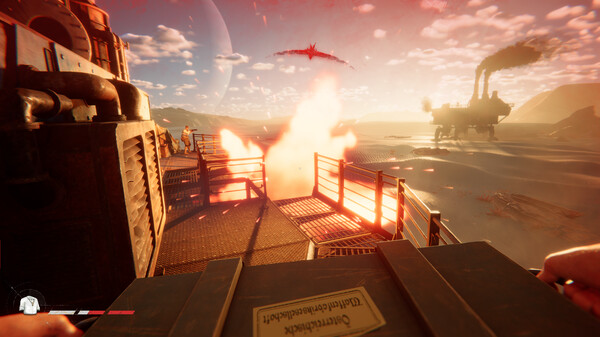
Mistakes That Cost The Walker
- Copying a video build before knowing whether it was made for solo, squad, Voyage, Storm Dive, or a different patch.
- Putting firepower on the Trampler while the reactor, steering, doors, or repair route are still exposed or confusing.
- Driving a large chassis into tight routes where it cannot turn, retreat, or protect the extraction wait.
- Repairing whatever is closest instead of fixing the part that keeps the Trampler moving, powered, or defended.
- Winning the fight and then losing value because loot was loose, the cable was missed, or extraction was called too late.
Set Up The First Safe Build
Build from the inside out. A first Trampler should make the next expedition calmer: clear driving, reachable systems, enough storage, one simple weapon plan, and a way to recover after damage.
Do the first test in a lower-pressure route. Drive, stop, enter stations, repair, transfer loot, and leave for extraction before you judge whether the build is ready for a harder fight.
- Place reactor, steering, captain, crew, door, and hatch logic before optional modules.
- Run from driver seat to reactor, gun, repair point, storage, and exit hatch without opening menus.
- Walk the repair route inside the Trampler before deployment.
- Load only the ammo and weapon roles the crew can actually operate.
- Move loot into valid storage before adding another POI to the route.
- Retreat while the Trampler still has power, turn space, and a driver who can see.
Fight By Disabling The Problem
Do not treat every Trampler fight as a race to delete health. Ask what must stop first. If the enemy is leaving, movement matters. If a cannon controls the angle, the weapon matters. If capture is realistic, crew access and power become the plan.
A boarding attempt needs a different Trampler than a chase. Board only when your walker can survive without your full attention, and when your squad knows who stays behind to drive, repair, or cover.
- Chasing: slow or stop movement before chasing damage numbers.
- Under fire: break or avoid the weapon angle before looting or boarding.
- Capture window: create entry, control crew access, and protect your own driver.
- Losing power or repairs: disengage before the Trampler becomes loot for someone else.
- Extraction nearby: leave the fight unless the fight is blocking the exit.
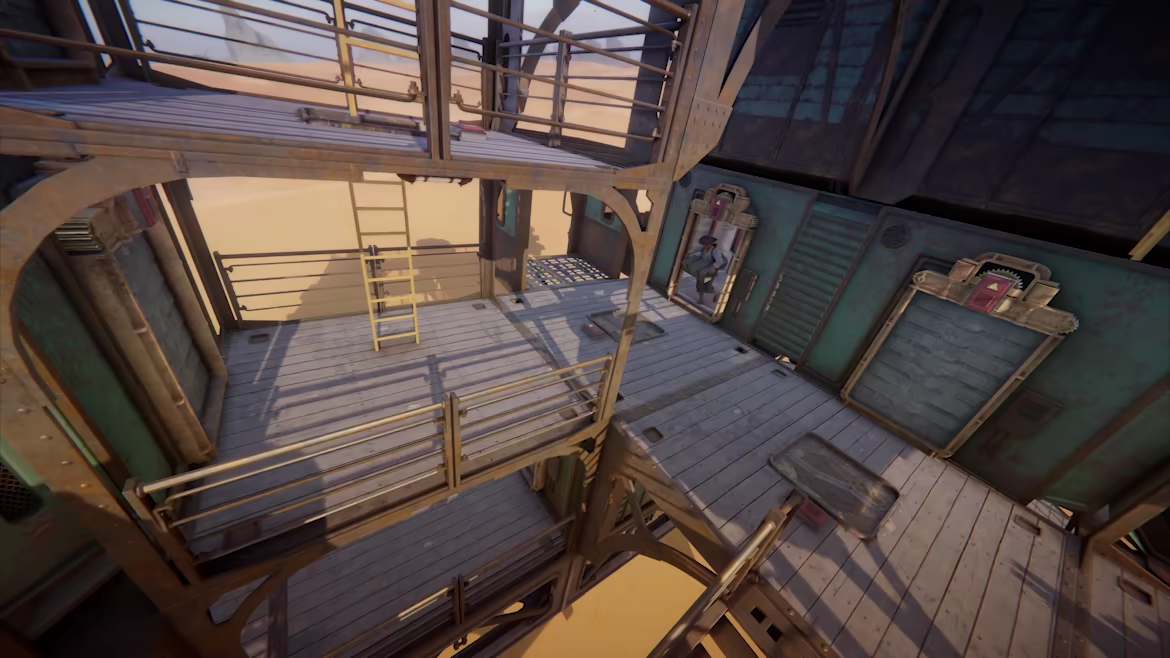
Repair Before The Damage Becomes A Route Loss
Repair decisions should protect the expedition goal. Fix movement, power, weapon coverage, and access before cosmetic damage. If two parts are broken, repair the part that lets you leave or stop taking damage.
Respawn support also needs planning. SAND Game DB lists bed-style respawns with food required, so a bed is only useful when the route also carries the food and access needed to use it.
- Repair movement when the Trampler cannot leave the angle.
- Repair power when systems start competing for output or capacity.
- Repair weapon coverage only when the fight must continue.
- Repair doors, hatches, and access when boarding or crew movement is the risk.
- Stop repairing and extract when more time in the area creates more value loss than the fix can save.
Choose Voyage Or Storm Dive By Readiness
Voyage is the better test space when the build still needs control practice, parking checks, repair routing, and storage discipline. Storm Dive is for crews that can make those decisions while time pressure and enemy pressure rise.
Switch modes because the Trampler is ready, not because the reward wording sounds better. If the crew still argues about who repairs, who drives, or when to leave, stay in Voyage and fix that loop first.
- Use Voyage to test the editor layout and extraction routine.
- Use Storm Dive when the same build can survive pressure without new confusion.
- Set a leave condition before deployment: loot value, damage level, ammo level, or storm timing.
- After a Storm Dive loss, replay the first failure instead of blaming the whole build.
Sources and Version Notes
Verified July 12, 2026. Store price, platform status, server health, player-count snapshots, database stats, and build advice can change after patches.
FAQ
What should a beginner Trampler build solve first?
It should solve movement, power, repair access, storage discipline, and extraction before damage output. A build that can leave with loot is better than a build that only looks dangerous.
Where should I put the reactor?
Keep it protected and reachable. Do not leave it exposed on an easy firing angle, but do not bury it so deeply that you cannot inspect, repair, or understand the power problem during a route.
What is the best combat target on another Trampler?
Target the part that changes the situation. Hit movement if it is escaping, weapons if it is outgunning you, crew access if boarding is possible, and power only when you can keep pressure long enough to matter.
Is Voyage better than Storm Dive for testing a Trampler?
Yes for most players. Use Voyage to test controls, parking, repair routes, storage, and extraction timing. Move to Storm Dive when the same build can survive pressure without the crew guessing.
Can I trust an old Trampler build video?
Treat it as layout inspiration, not a permanent stat sheet. Check the installed game version, SAND Game DB fields, and your own route before copying module placement or crew assumptions.